
In this post, I’ll show you how to create a project in Studio 5000 Logix Designer.
If you don’t have access to Studio 5000, you can use this link to practice what you learn in this video by following a guided simulation.
On my computer, I have launched Studio 5000.
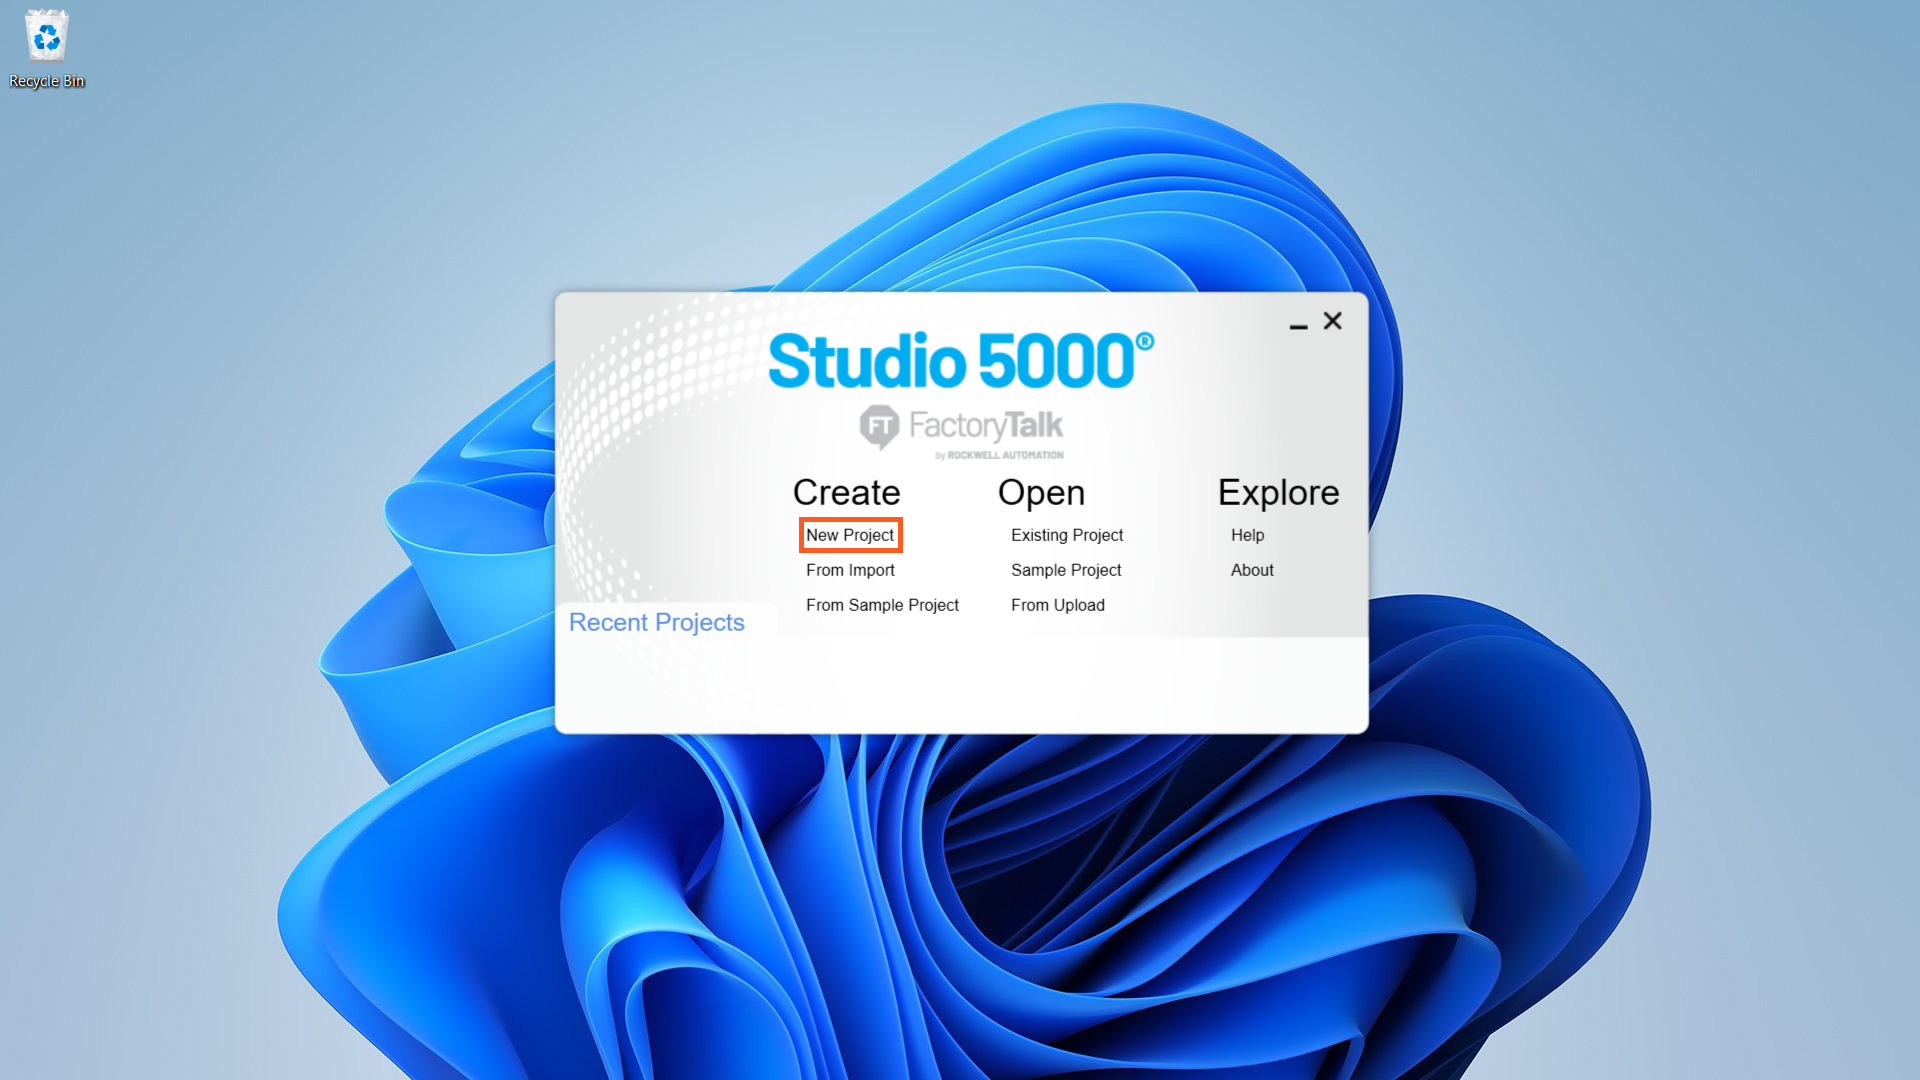
In the splash screen that appears, I can click on the New Project button to open the New Project dialog.
If I wanted to open an existing project, I could click on the Open Project button to browse for a project on my computer, or I could select the project from the list of recent projects at the bottom of the splash screen.
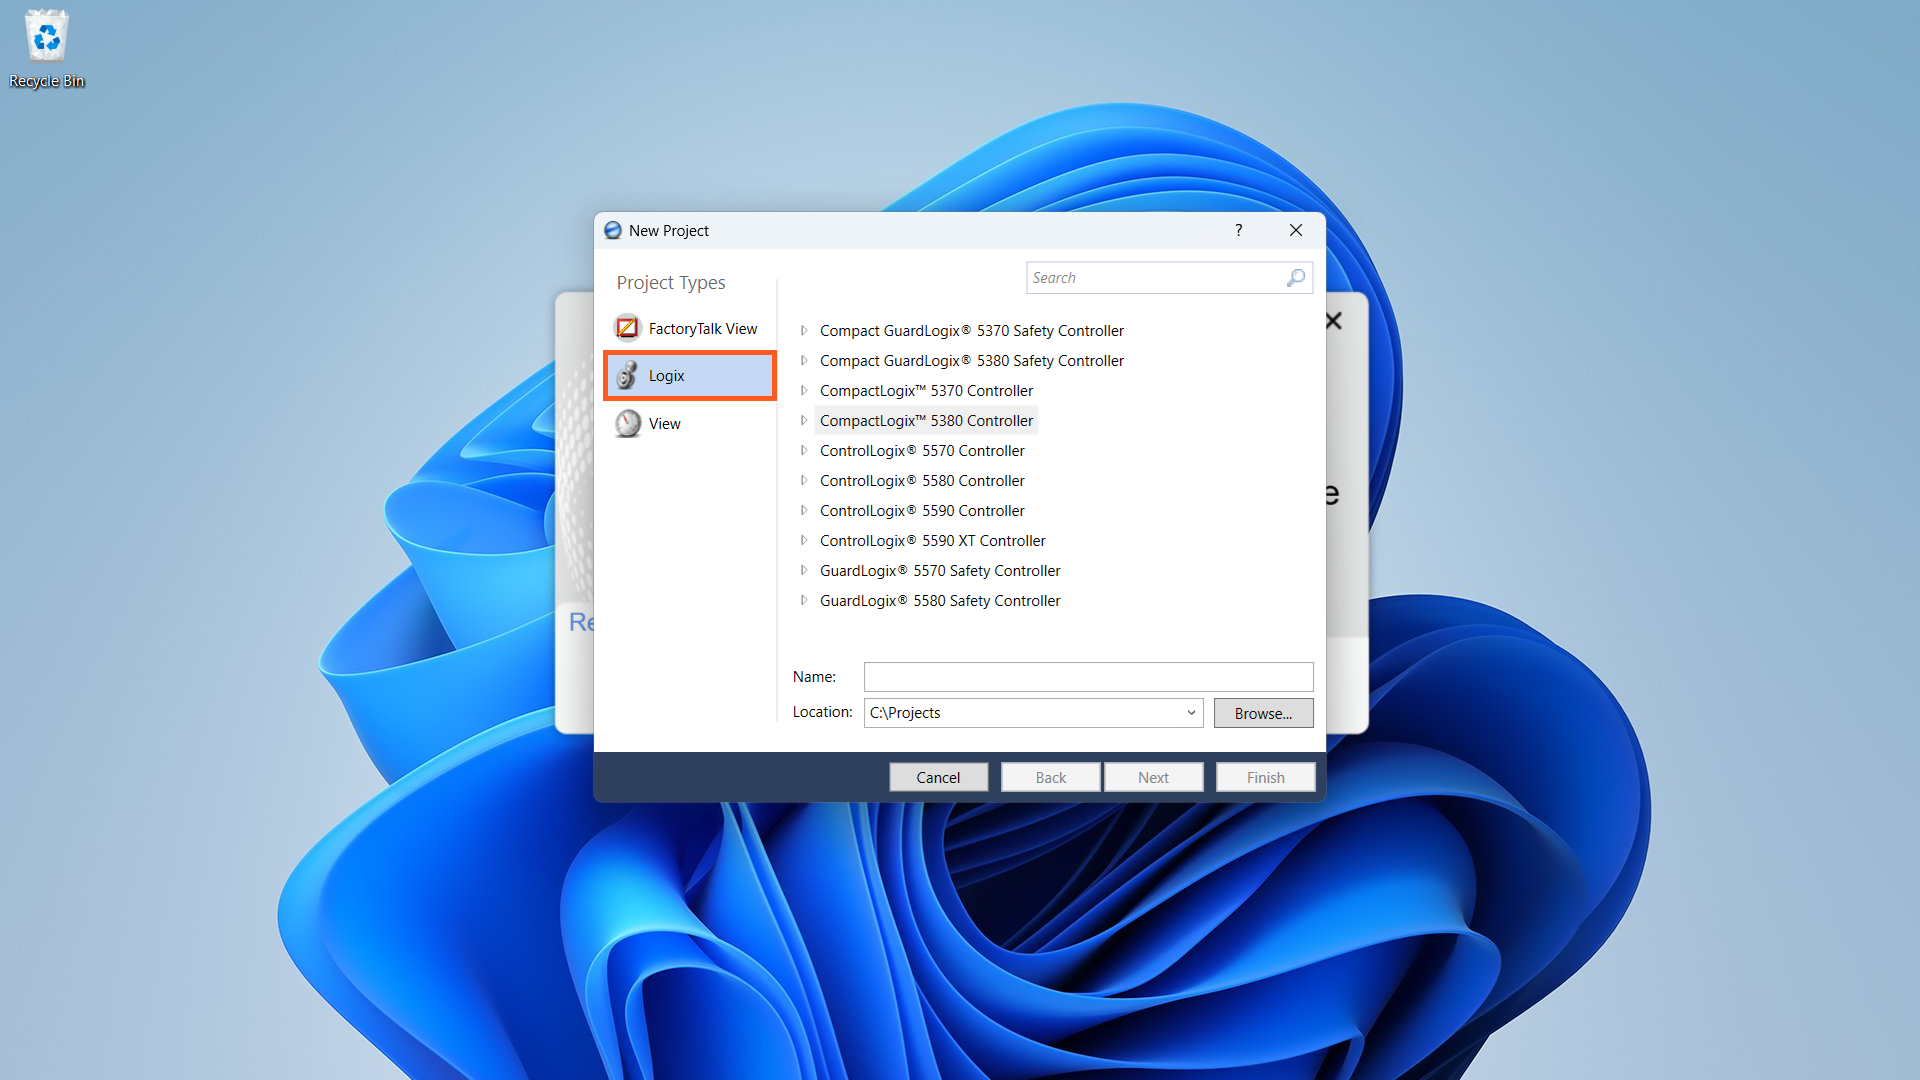
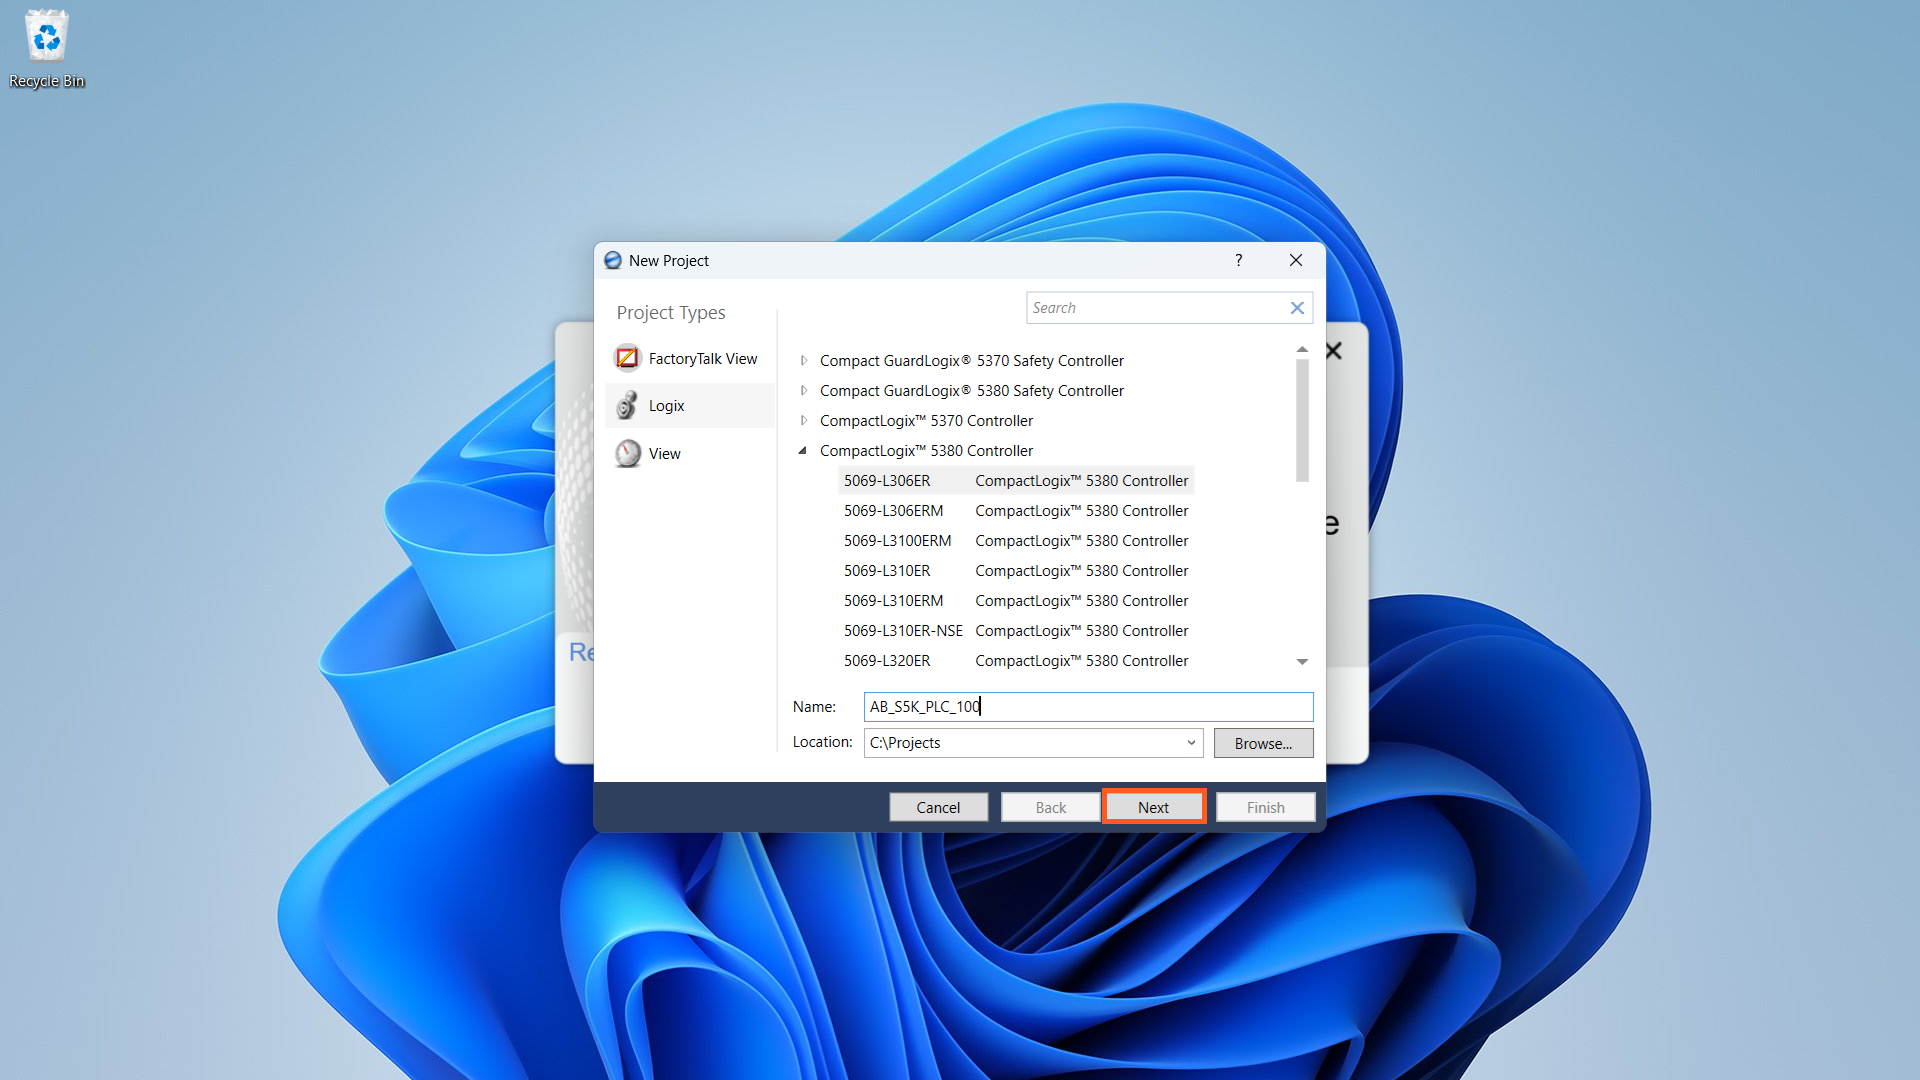
In the New Project dialog, I have to specify what type of project I want to create. The options that you have available will depend on the software that you have installed on your computer.
In this case, I want to create a Logix Designer project to program a Logix 5000 PLC, so I select Logix as the project type.
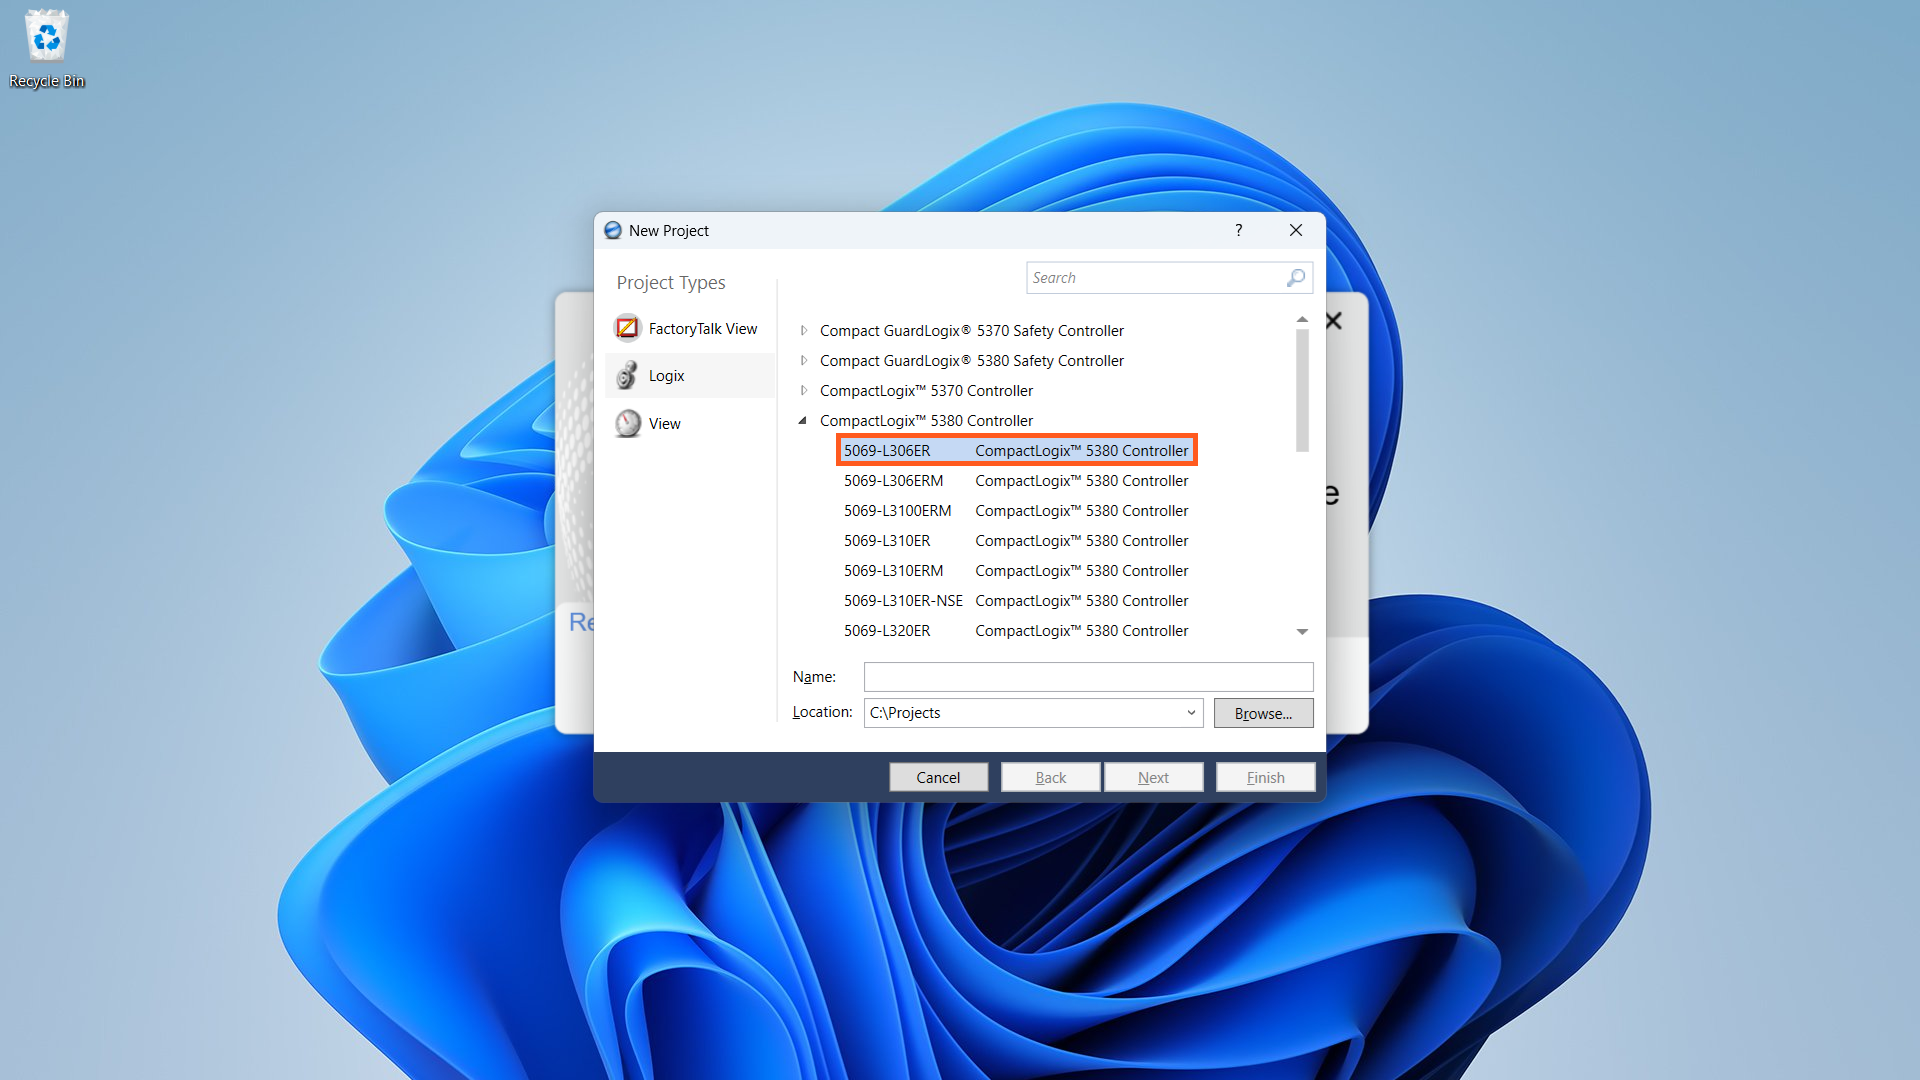
Then, I need to select the type of controller that will be added to the project. Projects in Studio 5000 Logix Designer are controller-centric, which means that each project contains the configuration data and application code for exactly one Logix 5000 PLC.
In this case, I’ll add a 5069-L306ER CompactLogix controller to the project. If you’re not sure what the difference is between a CompactLogix and a ControlLogix controller is, check out my previous post explaining the different Allen-Bradley PLC families and their positioning.
After selecting the type of controller to add to the project, I give the project a name and specify a storage location.
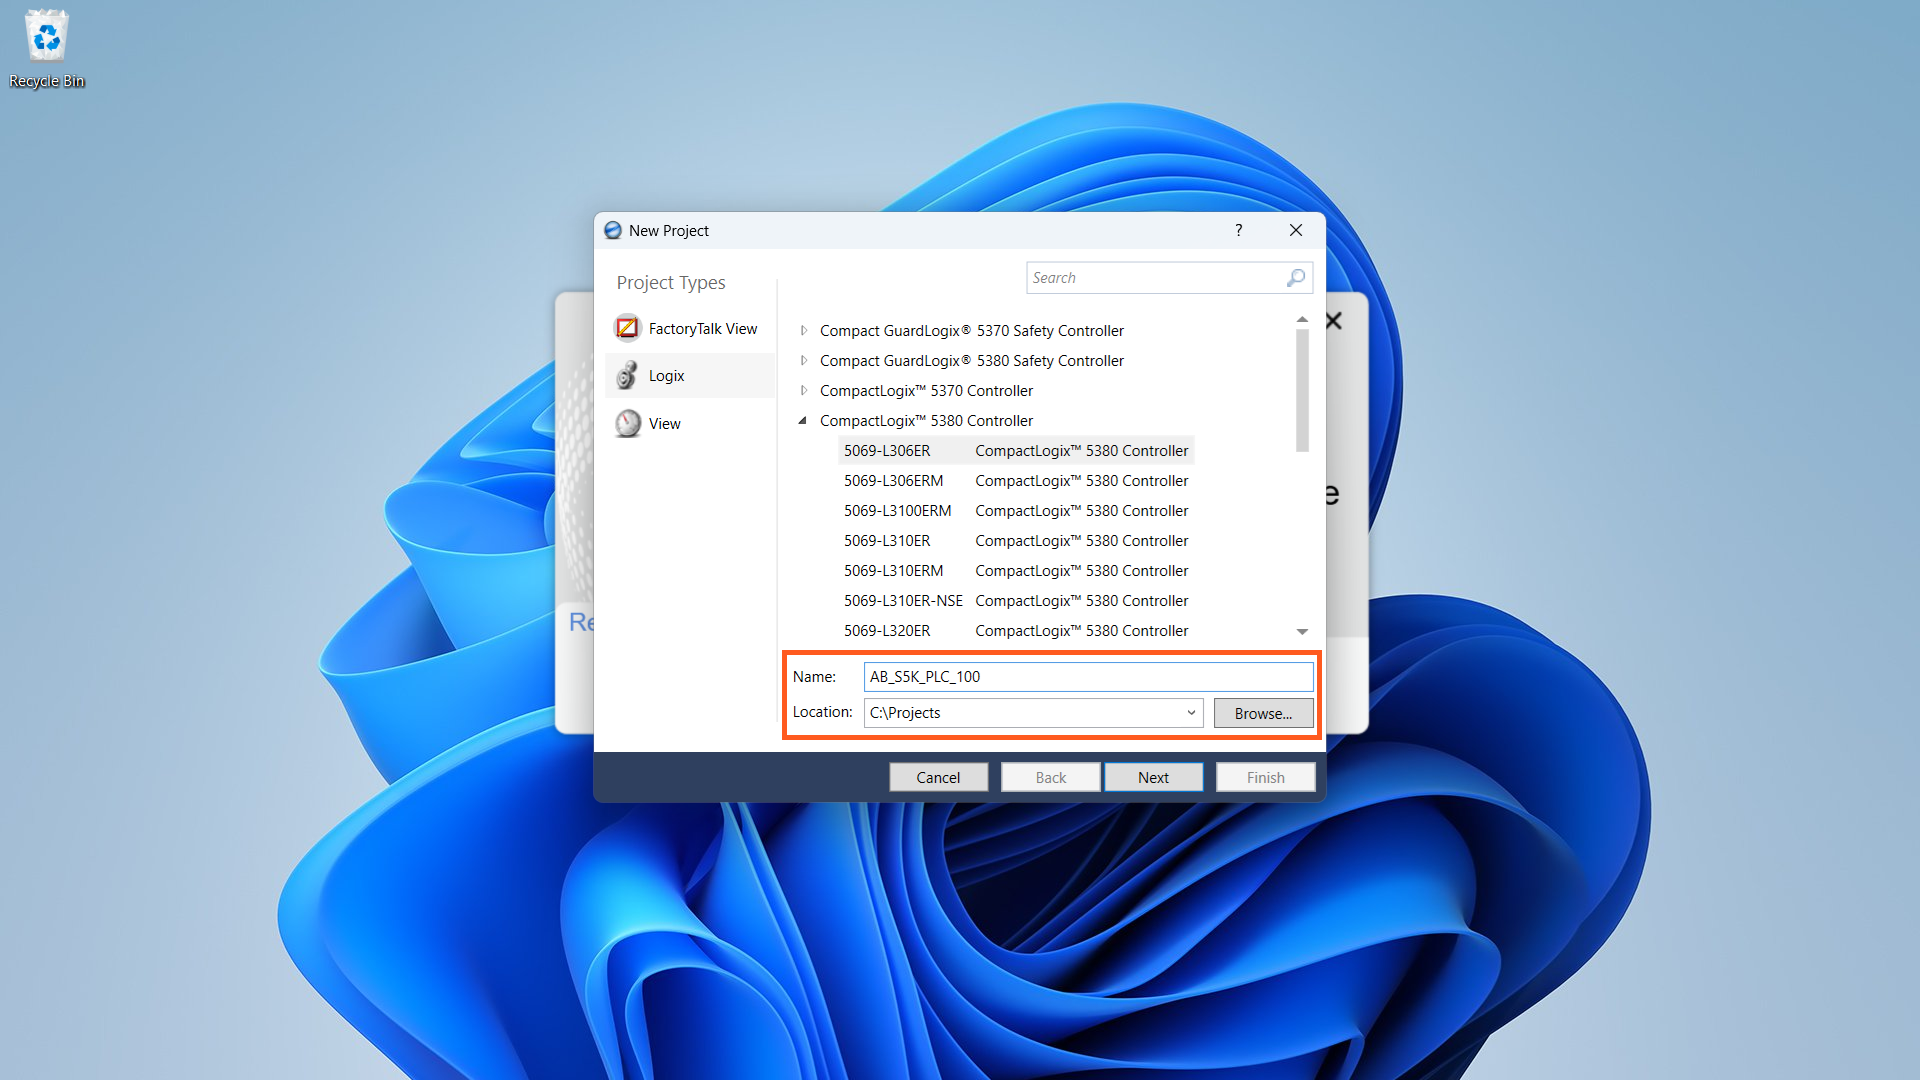
Now that all of the project details have been configured, I click Next to continue creating the project.
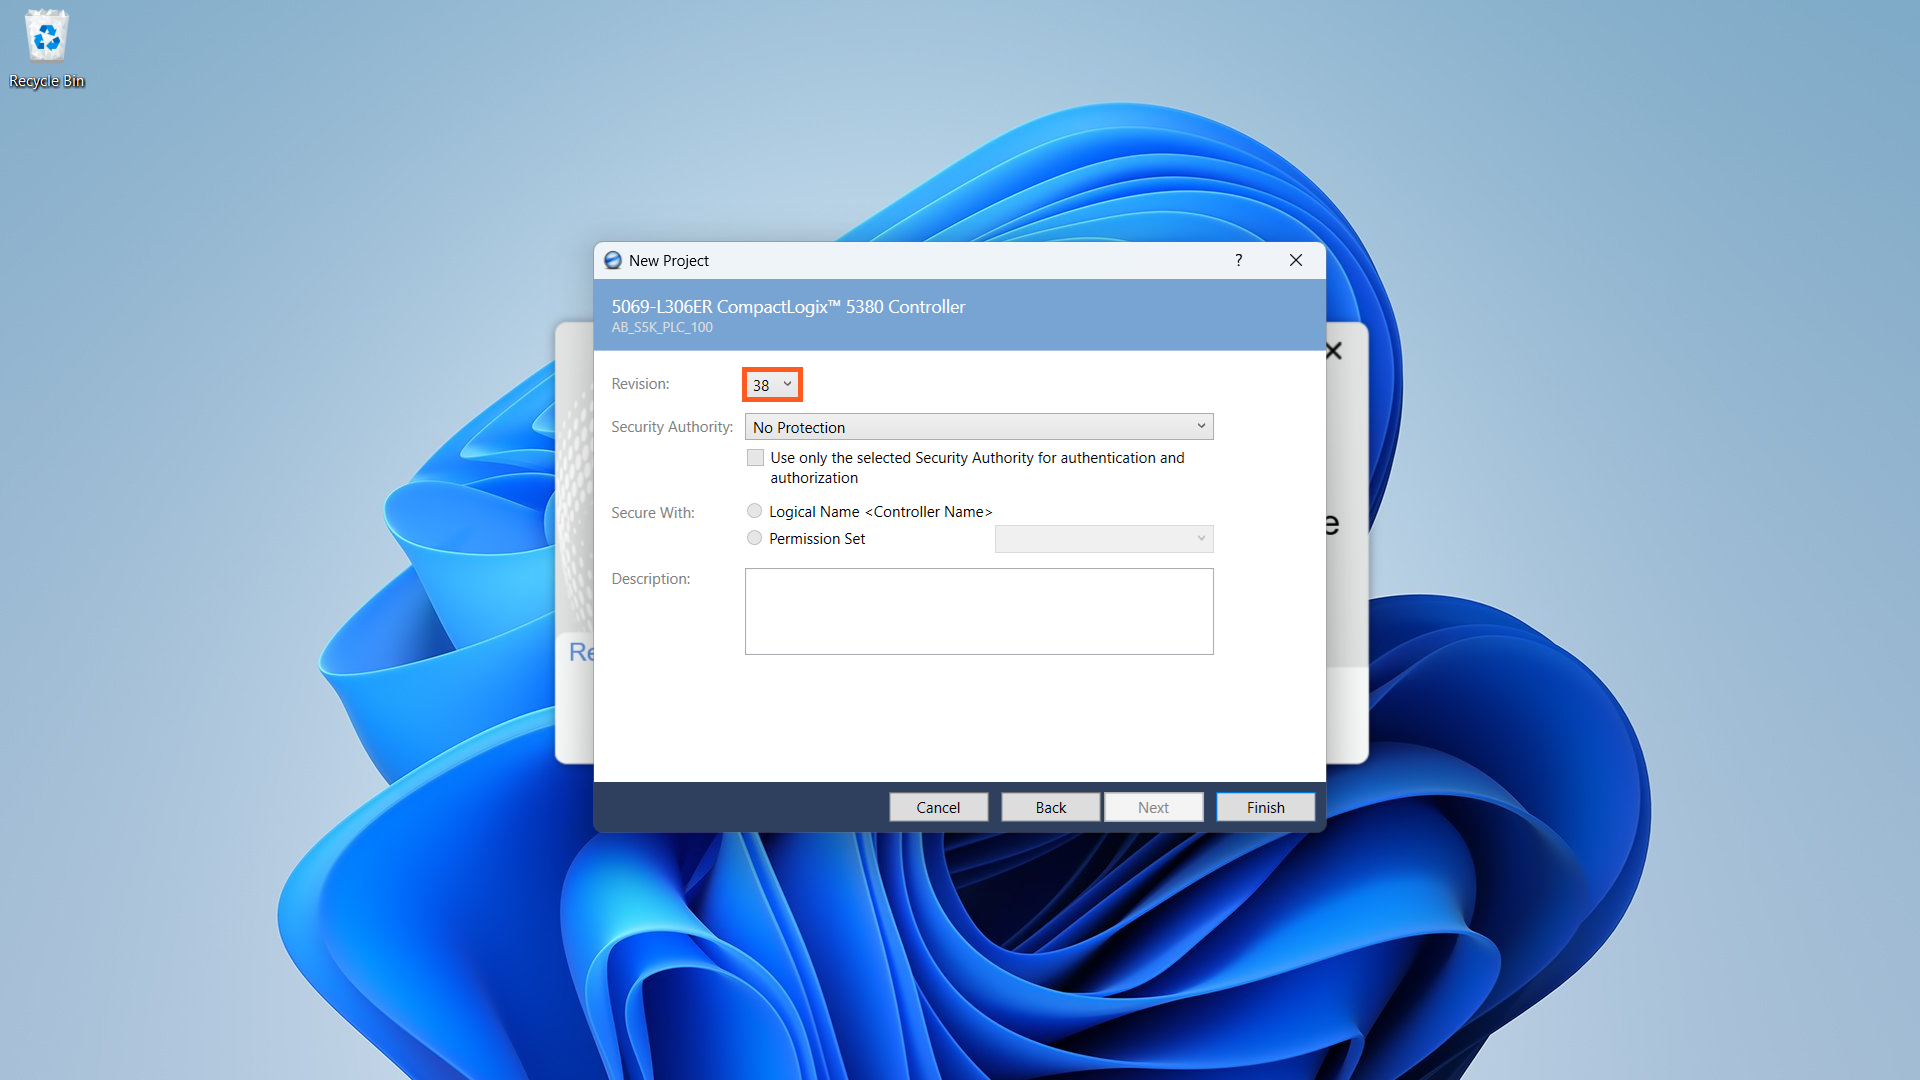
On the next screen, I can specify the revision of Studio 5000 that I want to use to create the project. The options available in this drop-down will depend on the revisions of Studio 5000 that you have installed on your computer.
When you go to download your project to a Logix 5000 controller, the revision used to create the project must match the firmware version in the PLC. If these don’t match, you will have to change the revision of Studio 5000 used for the project or flash the PLC to a different firmware version.
In this case, I’ll leave the default selection of revision 38 which is the latest revision available on my computer.
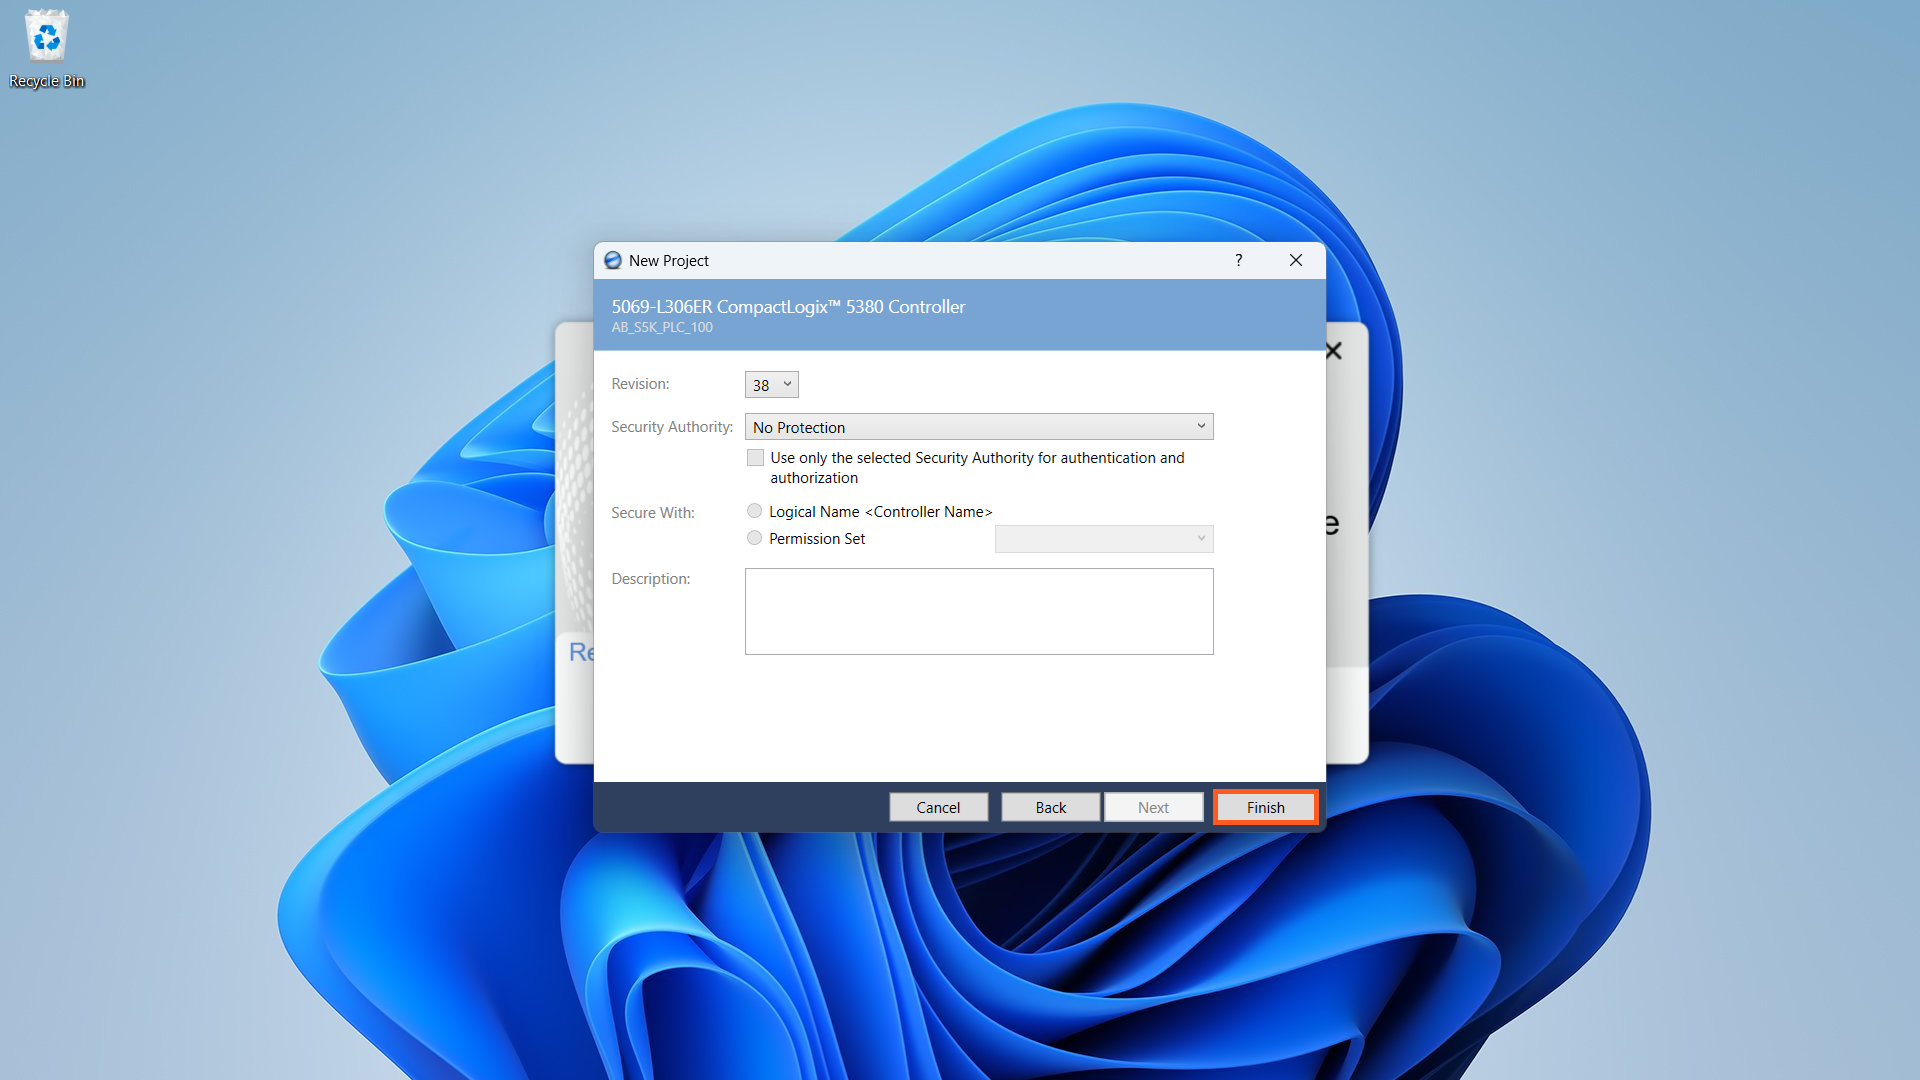
There are some other options available on this screen related to security. Security is a very important topic but is outside the scope of this video, so I’ll leave these options at their default values and click Finish to finish creating the project.
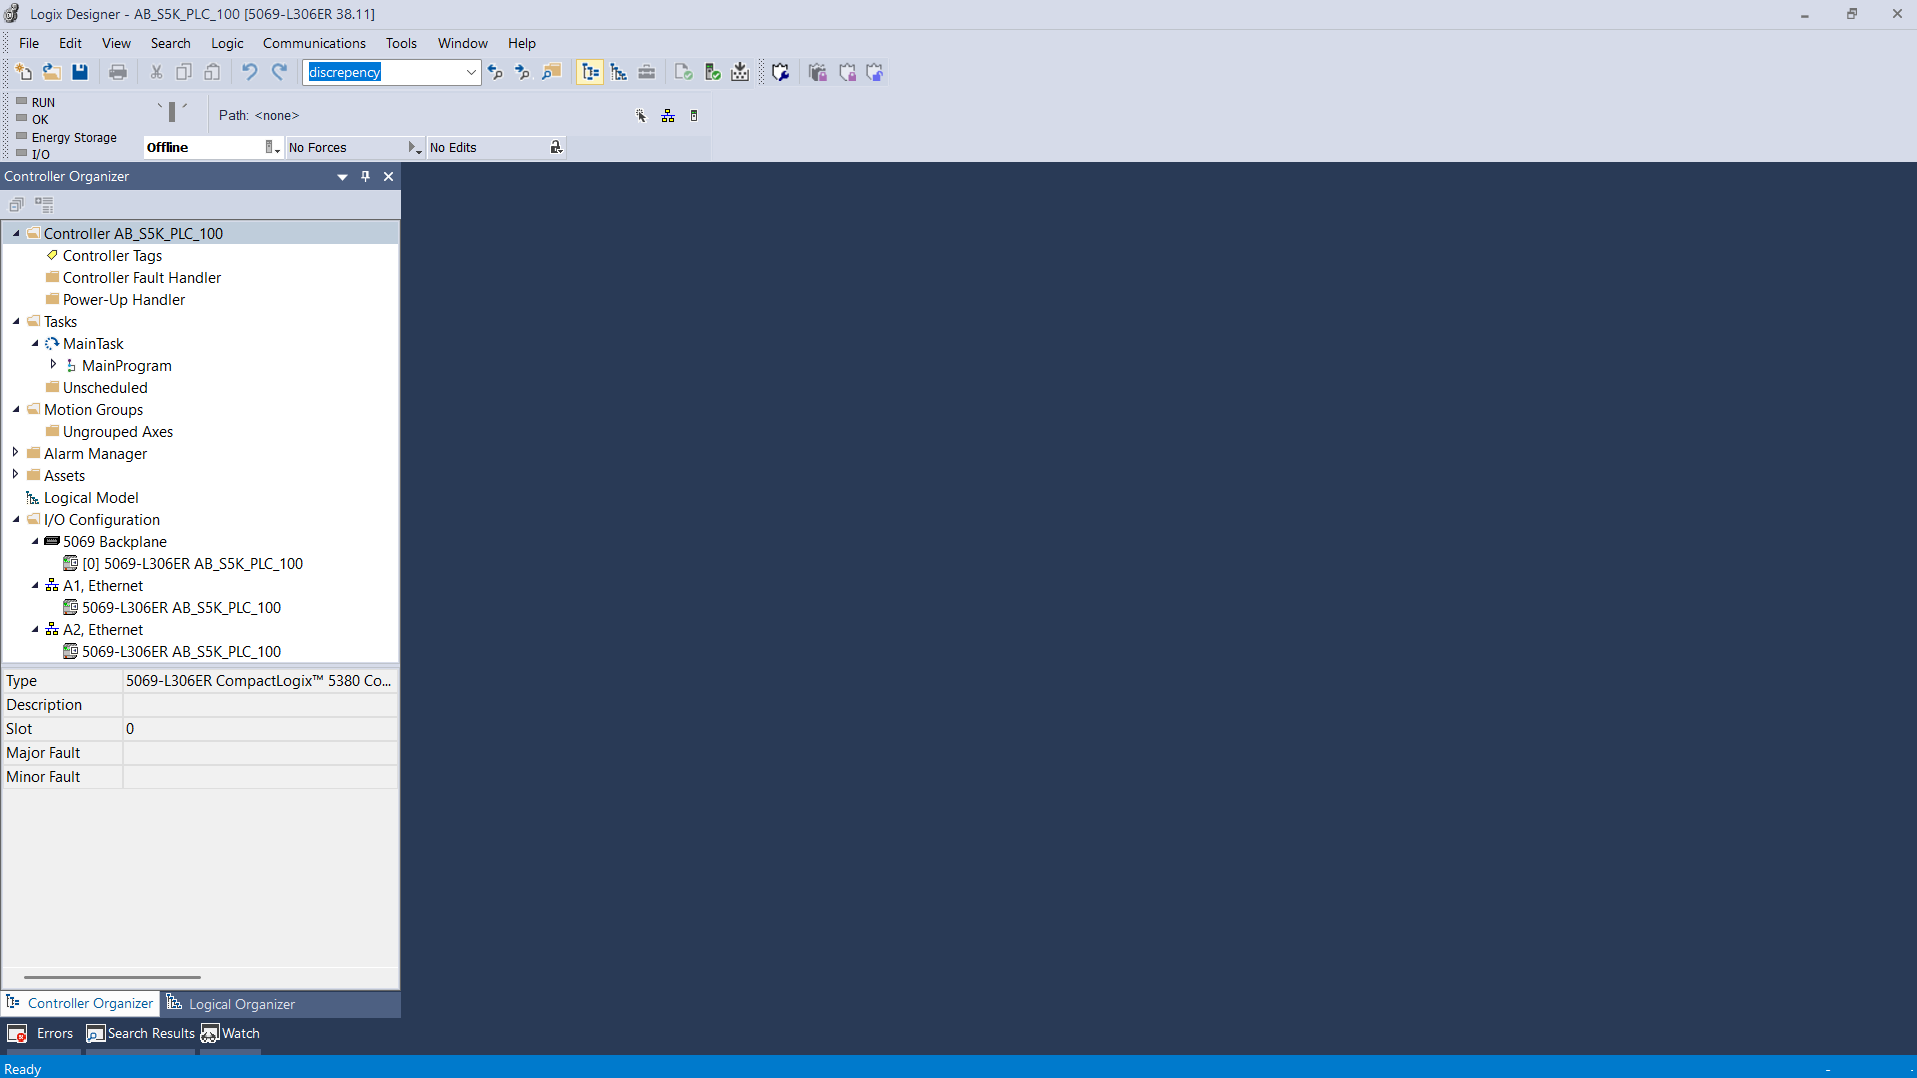
Once you click Finish, Studio 5000 will create and automatically open the new project. This project is stored at the storage location that you specified as an ACD file. This is a proprietary file format used by Studio 5000 Logix Designer.
Now that you have created a project in Studio 5000, the next step is to declare tags. You can see how to do that in this post.
Again, if you want to practice what you’ve seen in this video but don’t have access to Studio 5000, you can use the link in the description below to follow these steps in a guided simulation.
Get new content delivered straight to your inbox: